Showing posts with label Thank You. Show all posts

Wednesday, April 21, 2021

With Gratitude

There are so many things to be grateful for - both big and small - even with all the craziness in our world .  Hearing birdsong, feeling the warmth of the sun, or  chatting with a friend brings joy to my soul.

I'm also very grateful to have been part of the Reverse Confetti design team for the past 4 years.  It has been one of my greatest experiences!  I've been inspired by amazing designers, worked with incredible products developed by Jen DelMuro and got to share my creations with all of you!  While I'm stepping down from the team, I'll always be a huge Reverse Confetti fan and I'm sure we'll still see each other around the crafting world!


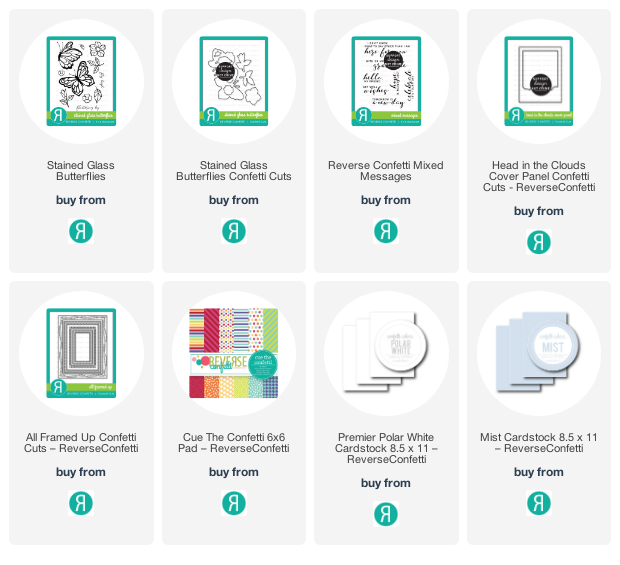
For my card, I layered the card base with a design from the Cue The Confetti paper pad. I cut two pieces of Premier Polar White cardstock with the new Above The Clouds Cover Panel.  With one cut piece, I cut off the clouds and added it to the back of the other cut piece, brushed the ends with ink and then adhered to the card base.  I cut Mist cardstock using the All Framed Up Die and adhered the frame over the Above The Clouds Cover Panel

The beautiful image is from the Stained Glass Butterflies set with coordinating dies and I copic colored the image to coordinate with the pattern paper.  To finish, I stamped one of the sentiments from the Mixed Messages stamp set and added a few clear sequins.

Thursday, April 15, 2021

Special Thank You


Welcome to Day One of Pink & Main's April Release sneak peaks! Get ready for both gorgeous and adorable stamp sets, a new embossing folder, paper pad, stencil and several surprises!


For my card, I layered two different patterns from the new GARDEN PAPER PAD onto a light blue cardstock and adhered them to the cardbase. These amazing, bold blooms and leaves and lovely sentiment are from the new MISSING YOU stamp set and coordinating dies! I ADORE these new goodies and I know you will too! The new release will be available on April 20th!


Friday, January 15, 2021

Lots of Love From Divinity Designs


The newest release from Divinity Designs is filled with lots of love and kindness -- which we could all use these days :)

My first card - a thank you to health care professions - includes these wonderful products:

  NEW! Thank You Stamp/Die Duo 

Notebook Paper Stamp/Die Duo

 Great Care Stamp/Die Duo


My next card brings you a truck full of love!


 I used these super fun products on my slimline card:

NEW! Be Devoted Stamps


Tuesday, December 1, 2020

Reverse Confetti December Stock Your Stash Challenge


Anytime is the perfect time to say Thank You!  There are many people who touch my life in both big and small ways, but I fall short in showing how thankful I am.  This month's Stock Your Stash Challenge theme - Thank You - has motivated me to create those Thank You cards...and actually send them!


There will be a new Stock Your Stash challenge posted on the Reverse Confetti blog on the 1st of each month. The SYS link list will be open from the 1st until noon CST on the 28th of the month. Click the "Play To Win" button on our sidebar to go current link list post.
 
Reverse Confetti stamps and/or Confetti Cuts are required to win.  This is a way we get to thank our customers for using our stamps.  Anyone is welcome to play, though! You may enter as many times as you wish.
 
Use #SYSChallenge when playing along with this challenge.
There will be a random winner selected each month and that person will receive a $20 gift certificate to the Reverse Confetti store. The winner of challenge will be posted on the Reverse Confetti blog at the end of the month.


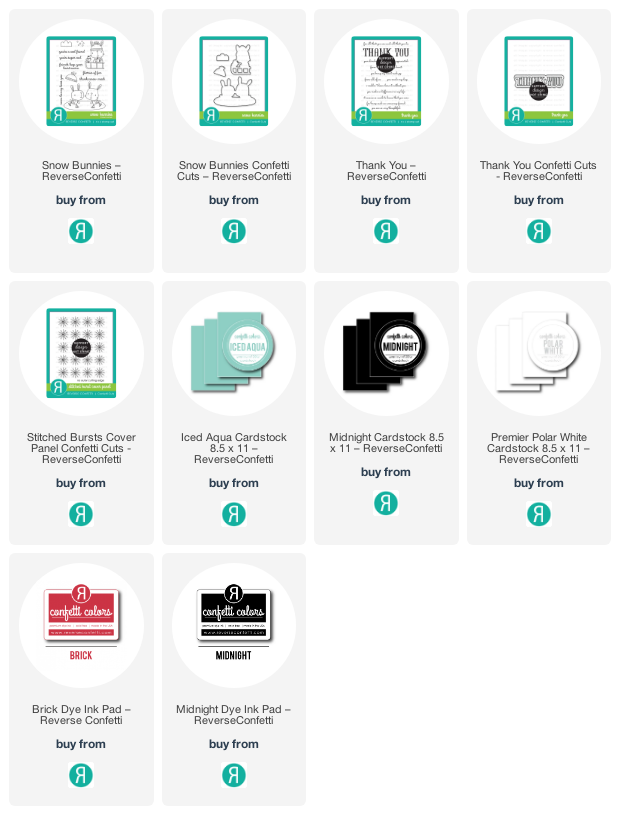
For my card, I cut Premier Polar White cardstock using the Stitched Bursts Cover and adhered to the card base.  The darling images are from the Snow Bunnies stamp set and coordinating dies.  I then used the Thank You stamp set and coordinating die - cutting the shadow with Iced Aqua cardstock and stamping the "thank you" with Brick ink before cutting with the Thank You die.  I white embossed one of the sentiments from the set on Midnight cardstock.  To finish, I added some sparkly enamel dots.


Looking forward to seeing YOUR beautiful creation in this month's Stock Your Stash Challenge!

Thursday, November 5, 2020

Happy Harvest Hop!


Welcome to the “Happy Harvest Hop from Kat Scrappiness & Ink on 3!” We are thrilled you could join us on this blog & Instagram hop celebration! We will be sharing darling fall cards featuring Kat Scrappiness amazing dies and sprinkles and Ink On 3’s fabulous inks and darling fall stamps. Come hop with us for inspiration and of course prizes!


Kat Scrappiness / @katscrappiness

Ink on 3/ @inkon3

Meghan Kennihan / @MadeByMeghanK

Kathy Schweinfurth / @stampinkathy4    

Jo Thompson/ @thompson_jo

Priscilla Joseph/ @nubblelightdesigns
IG: @craftinglovew  

Jenny Hall/ @thejennyhalldesign

Erica A-B/ @erica_cacacraft

Lynnea Hollendonner/ @lynneahollendonner

BromeroCards/ IG: @bromerocards  

Ceal Pritchett/ @cealp


The hop begins on November 5th at 10am CST and will end on November 8th at midnight. We will have 4 x $15 winners!! 2 from randomly chosen blog posts and 2 from randomly chosen Instagrams so the more you comment the better chance you have.


To participate in the hop giveaway, simply leave a comment on each blog post, follow each DT on Instagram, comment and tag your friends. The more you comment the more chances of winning. Bonus entries for following our stores on all our social media below:


The winners will be announced on the Ink on 3 and Kat Scrappiness blogs & Instagrams on November 10th. You will need to contact us to claim your prize. You can subscribe to our blogs for a notification email on any new blog posts. You will have 7 days to claim your prize.

Thank you for hopping with us and supporting our small businesses!


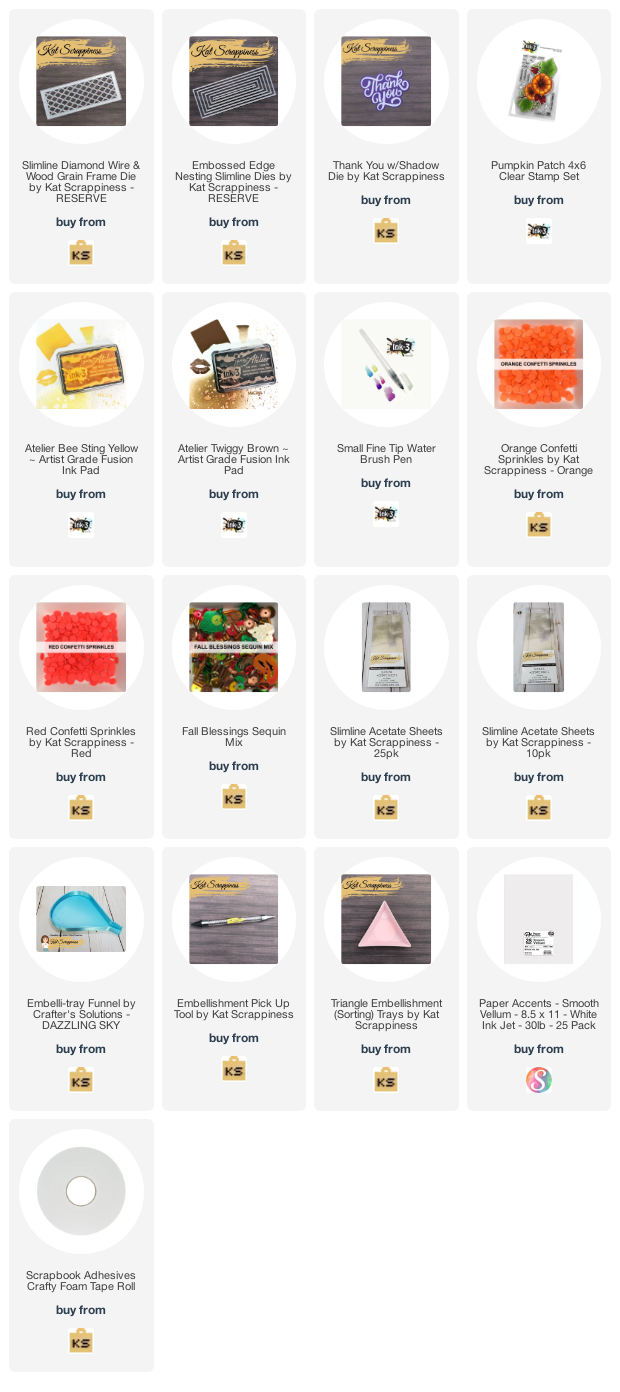
For my card, I layered a fall plaid pattern paper to the card base.  To create the shaker panel, I cut dark brown cardstock using the Slimline Diamond and Wood Grain Die and adhered a sheet of Slimline Acetate to the back.  I then lined the back of the frame with foam tape and filled the center with different Kat Scrappiness sprinkles and sequins (see thumbnails below).  I then 'sealed' the panel with pattern paper cut with one of the Slimline Embossed Edge Dies and adhered the shaker panel to the card.

I then colored this beautiful image from the Ink on 3 Pumpkin Patch set using the new Atelier Inks - Artist Grade Fusion Ink Pads!  They are wonderful to  watercolor with and keep a deep, rich color!  They can be blended together to create different colors and are water-reactive too!!  I used Kat Scrappiness Thank You with Shadow die; making the 'shadow' out of vellum then added the small sentiment from the Ink on 3 Pumpkin Patch set.


Tuesday, October 20, 2020

Thanksgiving Gnome Slimline Gatefold


Thanksgiving is a little over a month away!  I'm actually looking forward to having our small, traditional family dinner...something normal for a change!  My card, however, is certainly not a 'normal' slimline card -- it does have a surprise element to it.  I kept it very simple, but there's so much you can do to embellish upon this card base!

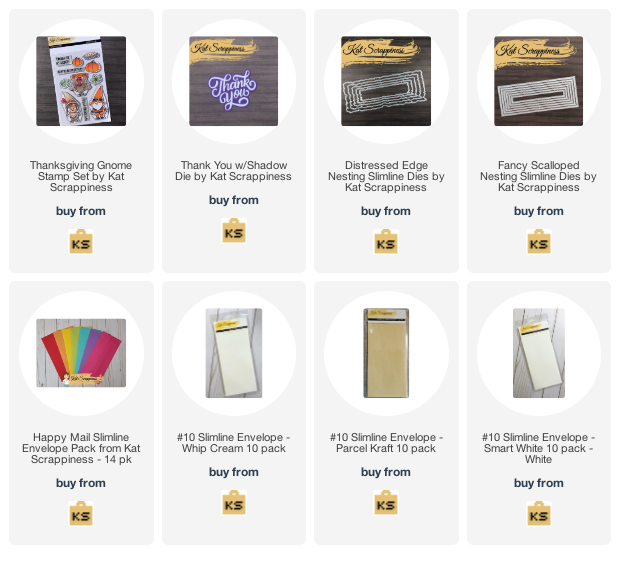
For my card, I cut a piece of kraft cardstock to 8 wide" x 9 high" and scored 2" on each side which left 4" for the card center.   I then cut small panels for the front (2" x 4" for the cardstock and slightly smaller for the pattern paper).  Each small panel was then adhered to the front card flaps; the first small panel was adhered to the left, the next small panel to the right flap and so on leaving a 1/4" in between the small panels.  When the card is closed, the panels fit into each other.


For the inside, I cut one pattern paper with one of the Fancy Scalloped Nesting Slimline Dies and brown cardstock with one of the Distressed Edge Slimline Nesting Dies

All the adorable images are from the Thanksgiving Gnomes set!


Friday, September 25, 2020

Thank You For Making My Day

Hey, 'Fetti Fans!  There are so many times someone does something that makes my day better.  Maybe it's a smile, an encouraging word or simply makes me feel good.  You know those people.  Now more than ever, thanking people for touching your life in a positive way is so important!

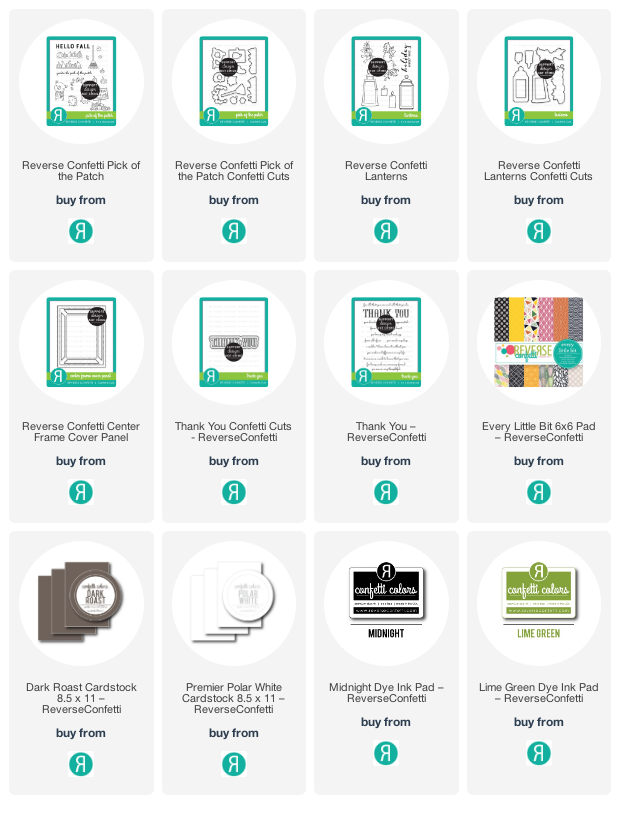
For my card, I cut a pattern from the Every Little Bit Paper Pad and adhered it to the card base then cut Dark Roast Cardstock using the new Center Frame Cover Confetti Cuts.  The sweet little bear from the new Pick of the Patch set is tucked behind the pumpkin and leaves image from the new Lanterns set.

The Thank You stamp set and coordinating Thank You Confetti Cuts were the perfect, final touch for the card!


Wednesday, August 26, 2020

You're So Kind


Hey, 'Fetti Fans! Kathy here and I'm so excited to be sharing my  card with you today!  It's not usual, at least for me, to design a card from something I've seen and immediately know what I'm going to create AND it turns out exactly how I thought it would!  But that's what happened when I saw this abstract print in the photo below! 


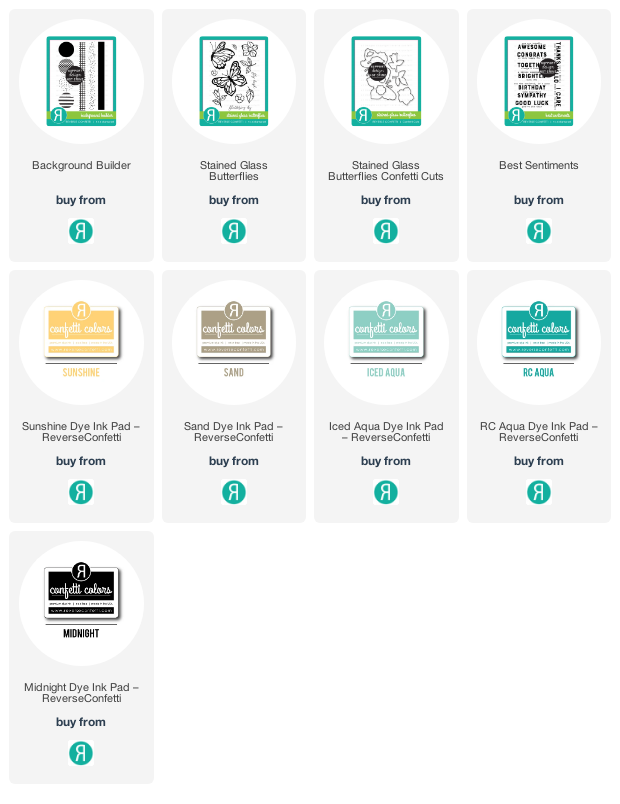
The background for my card was created with the Background Builder stamp set which is becoming one of my fave sets!  I used the following ink colors:  Sunshine, Sand, Iced Aqua, Aqua and Midnight to stamp the images.


To create a focal point, I used one of the butterfly images in the Stained Glass Butterflies set; cutting it out with the corresponding Confetti Cuts.  To finish, I added one of the sentiments from the Best Sentiments set and a few aqua sequins. 


Sunday, March 15, 2020

Paper Smooches Challenge - Animals


Yay!! Today starts a new Paper Smooches Challenge and the challenge this time around is...


Hope you'll play along and have a chance for great prizes!! This challenge runs from March 15-28 and winners will be announced on the Paper Smooches blog on March 30 or 31.  Three winners will be chosen: one winner will receive a prize package, one winner will receive a $25 Paper Smooches gift certificate and one winner will be randomly selected to win a $5 gift certificate!


For my card, I created a background using distress oxide inks.  The darling little bear and bees are from the Courteous Cuties stamp set.  To finish, I cut black cardstock using the Thanks 2 Word Die.


Looking forward to seeing what YOU create for the challenge!!

Saturday, February 15, 2020

Paper Smooches COLOR Challenge


Are you ready to have some fun?!  Today starts a new Paper Smooches Challenge and the challenge this time around is a color challenge.  Choose at least three colors you see here...


Hope you'll play along and have a chance for great prizes!! This challenge runs from February 15-28 and winners will be announced on the Paper Smooches blog on March 1.  Three winners will be chosen: one winner will receive a prize package, one winner will receive a $25 Paper Smooches gift certificate and one winner will be randomly selected to win a $5 gift certificate!


For my card, I used a design from the Rainbow Sherbet paper pad for the background.  I cut black cardstock using the Fab Frames Dies. The beautiful flower images are from the Rosy Posy set which I paper pieced using designs from the Rainbow Sherbet paper pad.  To finish, I cut deep rose cardstock with the the Thanks 2 Word die.

Looking forward to seeing YOUR creation in the challenge gallery!


Thursday, January 2, 2020

Thanks, Friend!


 Hey, Fetti Fans!  The New Year has begun and so have a few of my 'goals' for 2020.  One of my crafty goals is to try some new things so today I tried a triple fold card.


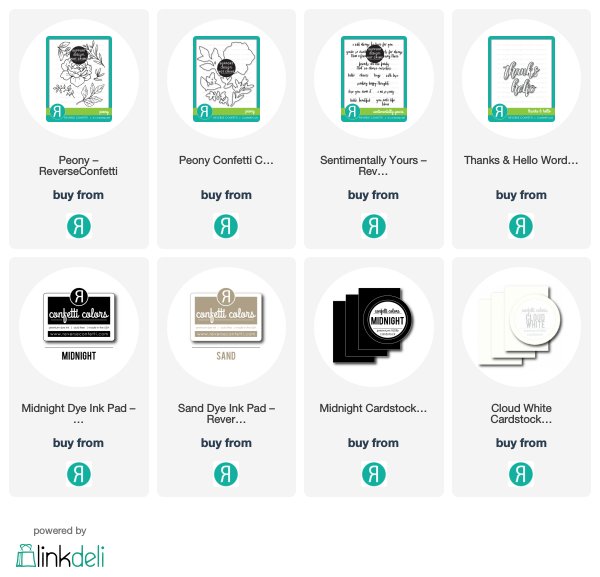
For the card, I used the gorgeous Peony stamp set and coordinating dies as the focal point.  Taking two 5.5" x 4.25" cards, I fitted them together so there were two cards that ultimately were adhered together in the center.   On the cover of one, I created a background by stamping one of the leaves from the set using Sand ink.  I then used the flower die to cut out the center.


Folding the three panels, I marked where to stamp the flower using the die cut opening as a guide then on the second panel, stamped the Peony in Midnight ink and copic colored .  I masked the flower in order to stamp the leaves in Sand then added the sentiment from the Sentimentally Yours set.  I stamped another sentiment from this set on the inside/center of the card, too.


 I then stamped, colored and die cut other leaves from the Peony set and placed them around the die cut opening; trimming where necessary.  To finish, I added the 'thanks' word cut from Midnight cardstock using the Thanks & Hello Word Duo dies.


Wednesday, November 27, 2019

Thankful For You


Happy Thanksgiving!  Many of my fellow Americans are likely busy today in preparation for tomorrow's feast with friends and family.  In the midst of all this busyness, let me say how THANKFUL I am for all of YOU - for your friendship, your passion for crafting (like me!) and your love of Pink & Main!


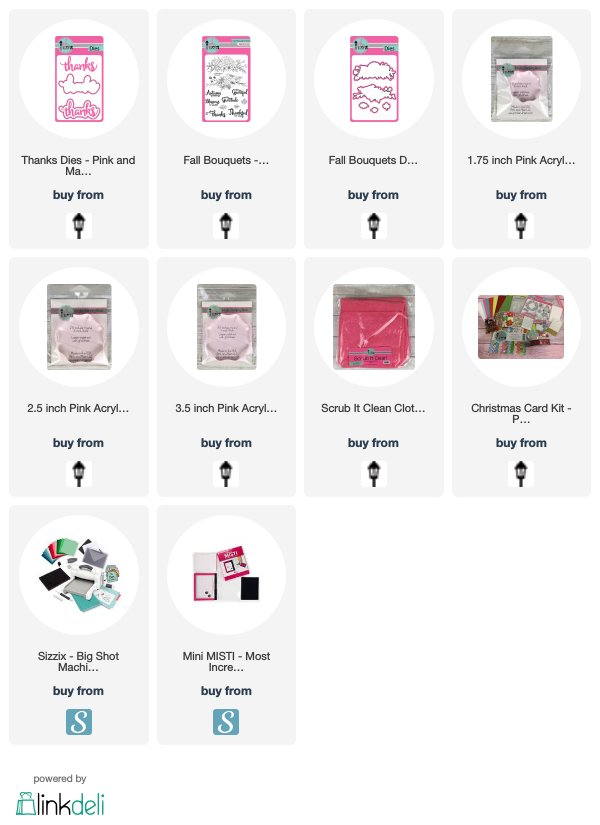
 For my card today, I created a background using distress oxide inks and the Four Points Star Stencil.  I stamped and colored these lovely flowers from the Fall Bouquets stamps with coordinating dies.  To finish, I placed a strip of orange cardstock, edged with brown ink, and cut brown cardstock using the 'Thanks' word die.

Blessings to you and yours this Thanksgiving!


Be sure to follow us via email/blog, Facebook and/or Instagram so you won't miss any projects the design team shares...not to mention, you'll be among the first to hear about deals and specials!