Showing posts with label shaker. Show all posts

Saturday, October 21, 2023

Come Let Us Adore Him


Hey, Crafty Friends! Today I'm sharing a Christmas shaker card featuring Catherine Pooler Designs new Let Us Adore Him stamp set and other goodies!  Christmas is just a couple months away and it's time to get into 'hyper-mode' on my holiday cards - this one was fun and easy to pull together!

Here's how I created my card:
 
1.  I first layered a snowy pattern paper to the card base and set it aside.
 
2.  Using Honey Bee Stamps A2 Shaker Snow Globe die (solid die), I cut a white piece of cardstock for the background and blended the following Distress Oxide Inks:  Scattered Straw, Faded Jeans, and Chipped Sapphire.
 
3.  To create the shaker element, I used the Honey Bee Stamps A2 Shaker Snow Globe die (outer frame) to cut silver cardstock and acetate. Then cut brown textured cardstock with the snow globe base die and adhered to the bottom of the snow globe.


4.  I adhered the cut acetate to the back of the silver cardstock snow globe frame using Art Glitter Glue with the Ultrafine Metal Tip. Then on top of the acetate, lined the frame with Scrapbook Adhesives 3D Foam Strips
 
5.  I placed some shaker elements/embellishments onto the center of the acetate, removed the backing from the foam strips and 'enclosed'/adhered the ink blended snow globe piece onto the back of the snow globe frame.
 
6.  I then stamped the sentiment in VersaFine Onyx Black ink, the nativity image using Distress Ink Chipped Sapphire and Squeezed Lemon for the angel image then cut them out with the coordinating Let Us Adore Him dies and adhered them to the snow globe.
 
7.  Lastly, I adhered the snow globe element to the card base.


Saturday, December 3, 2022

Let's Get Festive!


It's just about time for me to deck the halls of my home including decorating the Christmas tree.  How fun would it be to have these festive ornaments I created to adorn a few tree boughs!

For my card, I first blended Antique Linen Distress Ink, splattered some black ink and stamped the sentiment.  I created a few circle shakers using Santa Baby Sequin Mix. I selected images from the new Ugly Sweater set, Copic colored them and adhered to the fronts of the circle shakers before 'hanging' them from some thin, gold ribbon.  To finish, I added a few red sequins from the Santa Baby Sequin Mix.


Wednesday, February 10, 2021

Hugs, Smiles & Rainbows


Can you ever have too many hugs, smiles and rainbows in your life?!  I know I need lots!  My shaker card has an explosion of color, fun and cuteness that I hope will brighten someone's day!

 
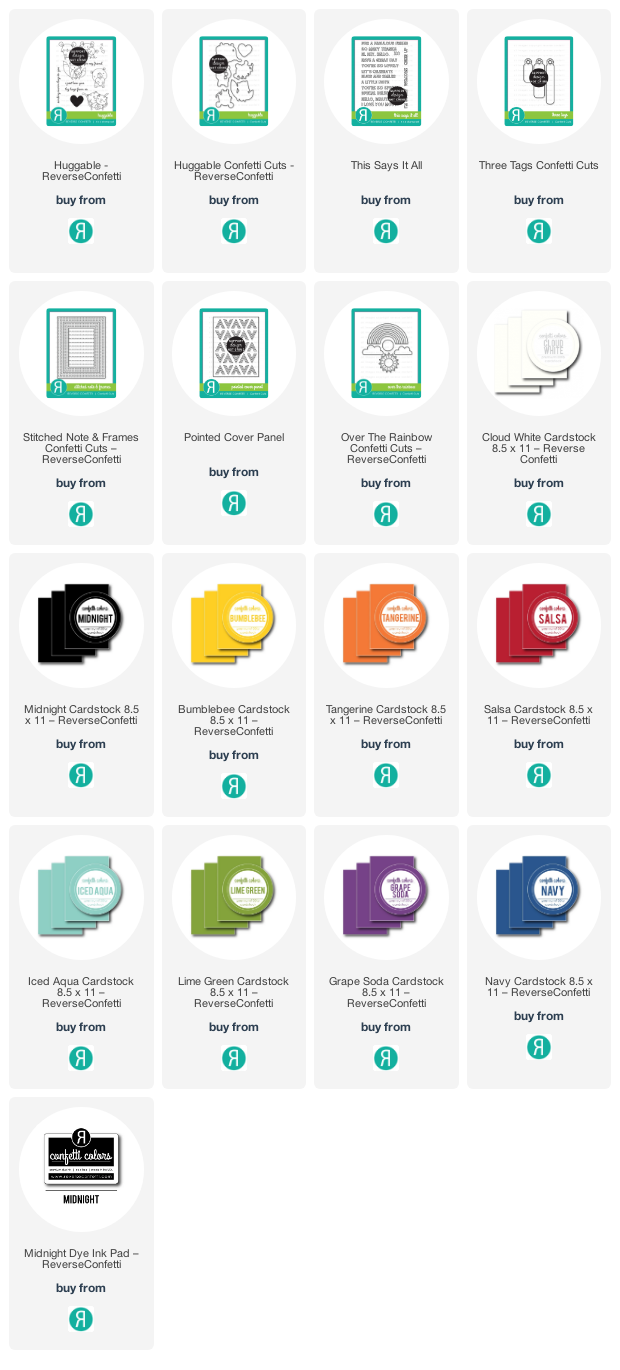
To create the shaker, I cut Midnight cardstock with the Stitched Note Frames Confetti Cuts and used the outer die cut for the frame.  I adhered a piece of acetate to the back of the frame, lined the frame with double-sided adhesive foam and sprinkled in the embellishment pieces. I cut Cloud White cardstock with the Pointed Cover Panel and used this piece to enclose the shaker/frame before adhering the entire shaker element to the card base.

These adorable mice from the Huggables stamp set and coordinating dies are popping out of the Over The Rainbow Confetti Cuts.  The sentiment is one from the This Says It All stamp set and has been stamped on one of the Three Tags Confetti Cuts.


Wednesday, January 27, 2021

Quokka Love!


Eeek...there's so much to love with the new Valentine Quokka stamp set!!  I just love this little guy and the other adorable images in the set!


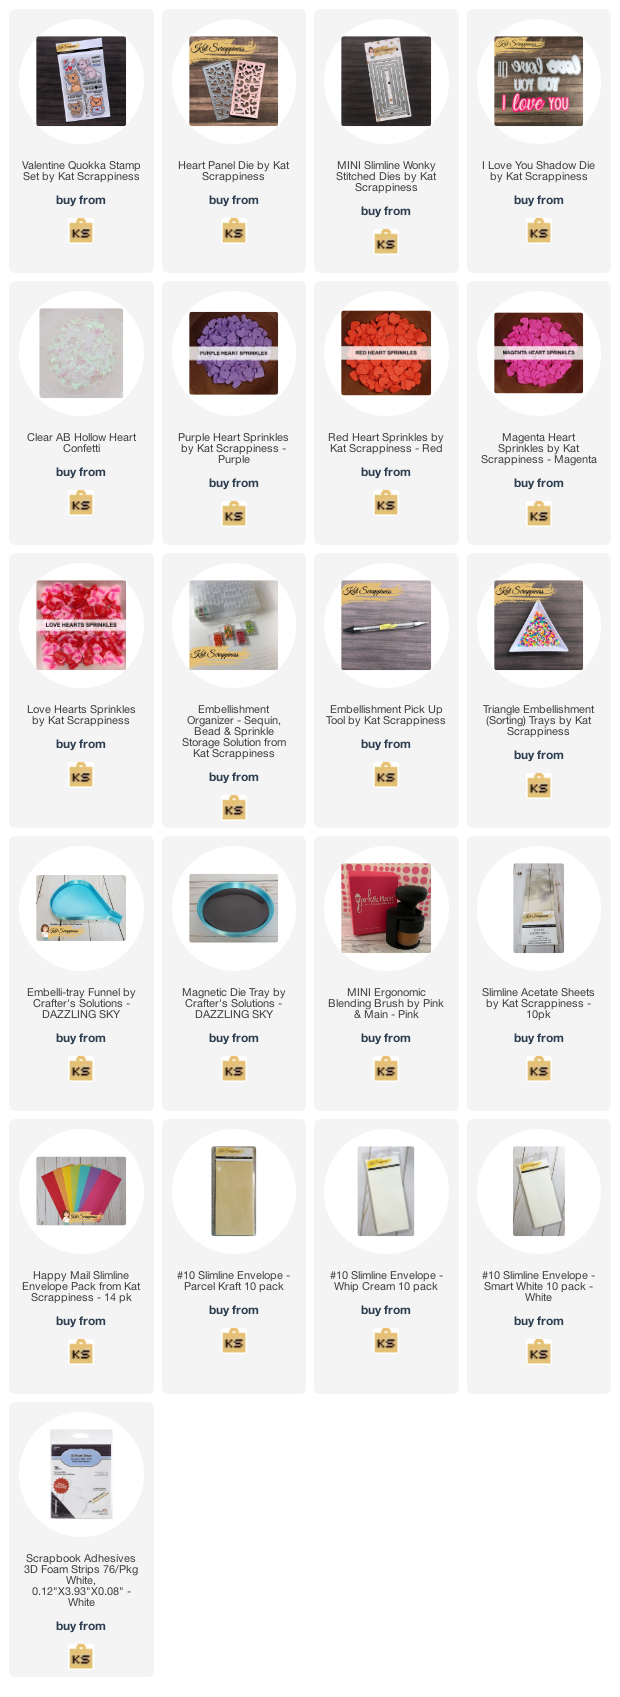
For my mini slimline shaker card, I cut white cardstock with the Heart Panel Die and blended distress oxide inks over top using Pink & Main's Mini Ergonomic Blending Brush.  To create the shaker, I adhered a piece of Slimline Acetate to the back of the heart panel and trimmed to fit.  I then lined the frame with Scrapbook Adhesives 3D Foam Strips and placed the following shaker elements:  Clear Hollow Heart Confetti and Purple, Red and Magenta Heart Sprinkles.  I cut white cardstock with one of the new Wonky Mini Slimline dies and adhered to the back of the heart panel/shaker elements to 'enclosed' the shaker before adhering to the card base.

These darling little guy is from the Valentine Quokka set and he's holding on of the Love Heart Sprinkles.  To finish, I added the 'love' word from the I Love You Shadow die.


Friday, November 20, 2020

Christmas Ornament Shakers


These new Christmas Shaker Ornament dies are SO fun and super easy to create!  Believe me, you can't make just one!

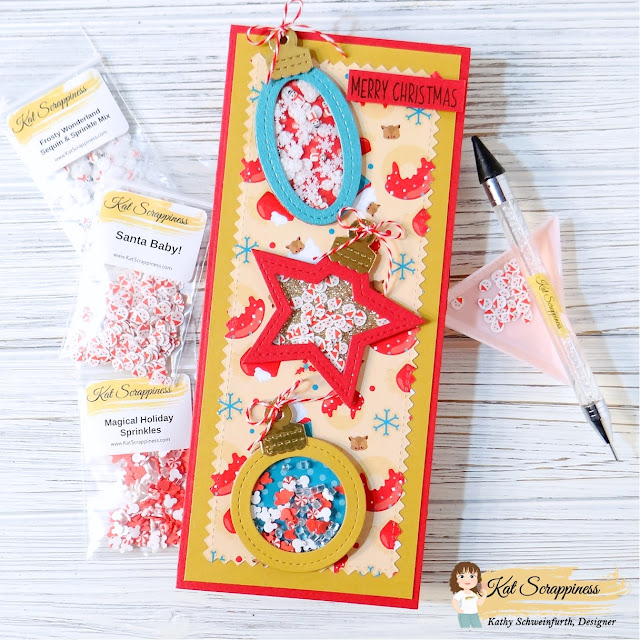
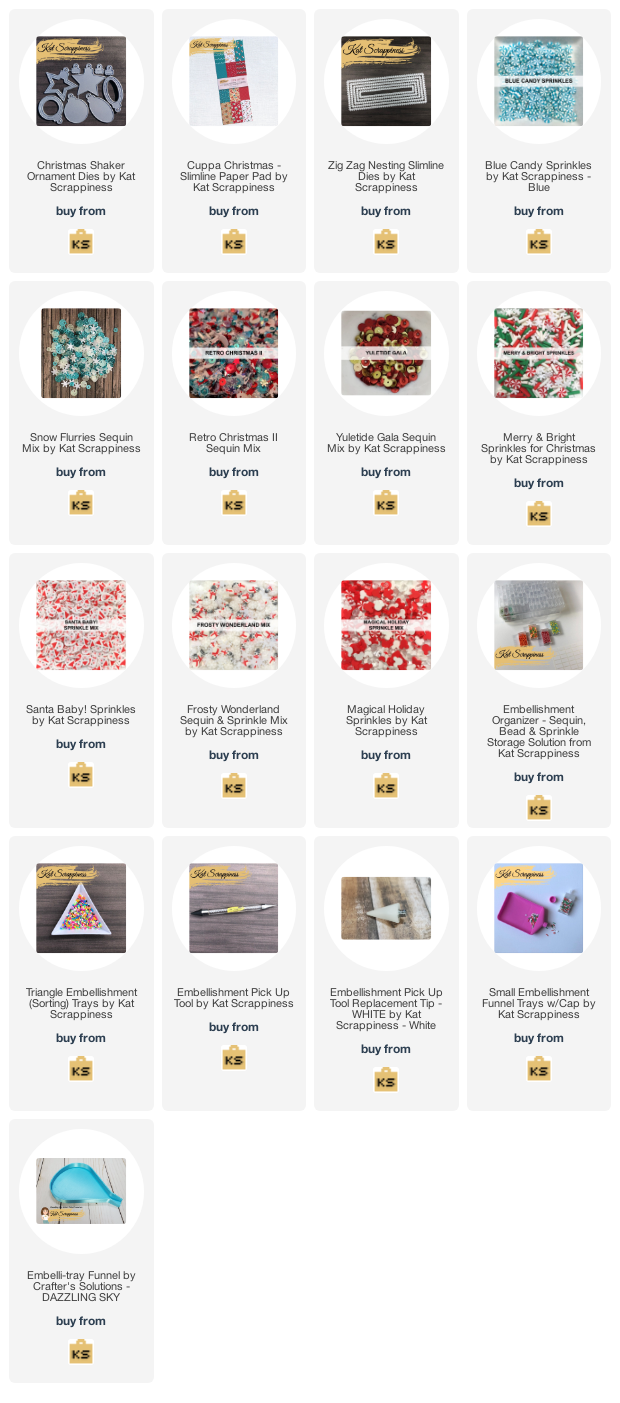
You can use the dies in different ways, too!  I created the circle shaped Christmas Shaker Ornament die using Snow Flurries Sequins and Blue Candy Sprinkles.  For the other ornament/tag, I simply cut glitter cardstock and added the ornament top from silver cardstock.  The ornament top is also part of the Christmas Shaker Ornament Dies set!


These little shakers are fun and festive - perfect to add to any package or gift bag as a gift tag and pretty enough to hang on your tree!!  I used Merry & Bright Sprinkles for this shaker.  Aren't those tiny peppermints just the cutest?!!

I think the star shaped shaker die will also work great for birthday and other celebration type cards!  I combined Retro Christmas II and Yuletide Gala sequins for this ornament shaker.


Thursday, November 5, 2020

Happy Harvest Hop!


Welcome to the “Happy Harvest Hop from Kat Scrappiness & Ink on 3!” We are thrilled you could join us on this blog & Instagram hop celebration! We will be sharing darling fall cards featuring Kat Scrappiness amazing dies and sprinkles and Ink On 3’s fabulous inks and darling fall stamps. Come hop with us for inspiration and of course prizes!


Kat Scrappiness / @katscrappiness

Ink on 3/ @inkon3

Meghan Kennihan / @MadeByMeghanK

Kathy Schweinfurth / @stampinkathy4    

Jo Thompson/ @thompson_jo

Priscilla Joseph/ @nubblelightdesigns
IG: @craftinglovew  

Jenny Hall/ @thejennyhalldesign

Erica A-B/ @erica_cacacraft

Lynnea Hollendonner/ @lynneahollendonner

BromeroCards/ IG: @bromerocards  

Ceal Pritchett/ @cealp


The hop begins on November 5th at 10am CST and will end on November 8th at midnight. We will have 4 x $15 winners!! 2 from randomly chosen blog posts and 2 from randomly chosen Instagrams so the more you comment the better chance you have.


To participate in the hop giveaway, simply leave a comment on each blog post, follow each DT on Instagram, comment and tag your friends. The more you comment the more chances of winning. Bonus entries for following our stores on all our social media below:


The winners will be announced on the Ink on 3 and Kat Scrappiness blogs & Instagrams on November 10th. You will need to contact us to claim your prize. You can subscribe to our blogs for a notification email on any new blog posts. You will have 7 days to claim your prize.

Thank you for hopping with us and supporting our small businesses!


For my card, I layered a fall plaid pattern paper to the card base.  To create the shaker panel, I cut dark brown cardstock using the Slimline Diamond and Wood Grain Die and adhered a sheet of Slimline Acetate to the back.  I then lined the back of the frame with foam tape and filled the center with different Kat Scrappiness sprinkles and sequins (see thumbnails below).  I then 'sealed' the panel with pattern paper cut with one of the Slimline Embossed Edge Dies and adhered the shaker panel to the card.

I then colored this beautiful image from the Ink on 3 Pumpkin Patch set using the new Atelier Inks - Artist Grade Fusion Ink Pads!  They are wonderful to  watercolor with and keep a deep, rich color!  They can be blended together to create different colors and are water-reactive too!!  I used Kat Scrappiness Thank You with Shadow die; making the 'shadow' out of vellum then added the small sentiment from the Ink on 3 Pumpkin Patch set.
 

Saturday, October 24, 2020

Saturday Coffee Cafe - Relax & Enjoy


Happy Saturday and welcome to the Cafe -- I'm so glad you're here!  Grab your favorite caffeinated brew, take a load off, relax and see what's brewin' today....


I'll be honest with you guys...this card was redone three times!  I had something in my head, but for the life of me, I couldn't get it down onto cardstock. Ever have one of the those days?  I've been mojo challenged of late. It sort of comes and goes....mostly goes!  So, I decided to just let it go and see what happens!

Hence, this card!  I took a regular A2 card base and just folded the front in half.  I had created the hexagon shaker element for the first card...which didn't work and then didn't work with the second either, however, I decided I really liked it and it was going on this card!  Besides, I had redone the shaker element twice!  Funny, I found the perfect sentiment for the card and the answer to my mojo struggles from a beloved Verve stamp!


Hope you get to relax and enjoy this weekend!!


Sunday, October 11, 2020

Sweet Holiday

 SWEET!  New holiday goodies have arrived at Kat Scrappiness!!

My card is featuring the newly released Slimline Scallop Dies, A Cozy Christmas Slimline Paper Pad and fun, festive SPRINKLES (click on "Clay Sprinkles & Resin Shapes thumbnail below).


For my card, I first layered one of the patterns in the A Cozy Christmas Slimline paper pad to the card base.  To create the shaker, I cut dark brown cardstock using the new Scalloped Slimline Die and Embossed Edge Slimline dies (to cut the opening) and adhered Slimline acetate to the back of the 'frame'.  I then lined the frame with double-sided foam and filled it with different Sprinkles and sequins before adhering another pattern from the A Cozy Christmas Slimline paper pad to enclose the shaker element.  

After adhering the shaker rectangle element to the card base, I used the Design A Gingerbread Man (and Woman) dies and adhered them to the card.  To finish, I used the Happy Holidays word dies.


Wednesday, October 7, 2020

Reverse Confetti October Countdown to Confetti - Day Two


It's Countdown to Confetti Day Two!!  Just one more sleep before the October Mini Release is available!  Be sure to check out all the wonderful projects the design team is sharing today!   Remember the FREE with purchase exclusive stamp set (see details at the end of this post) that you can receive too!

Check out what the Design Team has to show you today! 


Today we're featuring Ornament Star Stamp SetOrnament Star Confetti Cuts and  Seasonal Say It All stamp set.

There's a special slit die included in the die set that enables you to create a gift card opening which I used on the first card.  The stamp set is so fun and has lots of different design stamps to 'dress up' the star and lets you get creative!

For the second card,  I created a shaker and used some of those design stamps around the outside of the star cut out.


Receive this darling Peace Tree stamp set FREE with a $60 purchase!

 Be sure to stop back tomorrow for Release Day!


Tuesday, July 7, 2020

Reverse Confetti July Release Day Three


Welcome to Countdown to Confetti Day Three!!  Just one more sleep before Release Day!  Are you excited about the new release?  Wait til you see the new Stained Glass Butterflies and Best Sentiments being featured today!

Check out what the Design Team has to show you today!  Leave a comment on each designer's sneak peek post (link list below) by noon CST on the 7th for a chance to win a $15 gift certificate to the Reverse Confetti store.  Visit our Facebook page for another chance to win a $15 gift certificate! Winners will be announced at 5pm CST on 7th on the Reverse Confetti blog and Facebook page.


These bold butterflies in the new Stained Glass Butterflies make such a statement as do these perfect sentiments in the Best Sentiments set!

For my first card, I cut Cloud White cardstock using the new Pointed Cover Panel adding just a touch of texture.  I then created a shaker element using the Square Window Tag die and layered the back with Salsa cardstock.  To finish, I stamped one of the sentiments from the Best Sentiments set on Bumblebee cardstock.


For my next card, I layered Lime Green cardstock onto the card base.  I then cut Dark Roast cardstock using the Center Circle Cover Panel and layered it on top.  The butterfly and flowers were stamped, colored and die cut and to finish, I stamped one of the sayings from the Best Sentiments set onto Premier Polar White cardstock that was cut from one of the Three Tags dies.


Tomorrow's the big Release day!!  Get your shopping list ready!

Wednesday, May 20, 2020

Celebrate!


Our celebrations may look a little different right now, but we can still send fun cards for birthdays, anniversaries, milestones and more!  Shaker kits and sprinkles from Kat Scrappiness are perfect for sending a party in an envelope!

For my card, I adhered a piece of dark brown cardstock onto the card base then layered a pattern paper from Honey Bee Over The Rainbow pad.  The shaker element was created using the Balloon Shaker Card Kit and Cupcake, Soft Pink, Brown and Green Sprinkles.  

I painted the outer balloon shape and let it dry.  Then, adhered the acetate piece to the back of the balloon shape, filled it with the sprinkles, then adhered a pattern paper from the Over The Rainbow pad; trimming to the edge of the balloon.  I added the unicorn image...but almost any image would have worked and then stamped the sentiment from Concord & 9th Birthday Basics Turnabout set.