Tuesday, May 26, 2026

Birthday Wishes


Need to pull together a quick, all occasion card?  Using the new Spellbinders Containers & Foliage die set plus a couple other goodies, it’s easy to create a design that can be mass produced in different color combos!


Here are a couple other cards I created with this set:


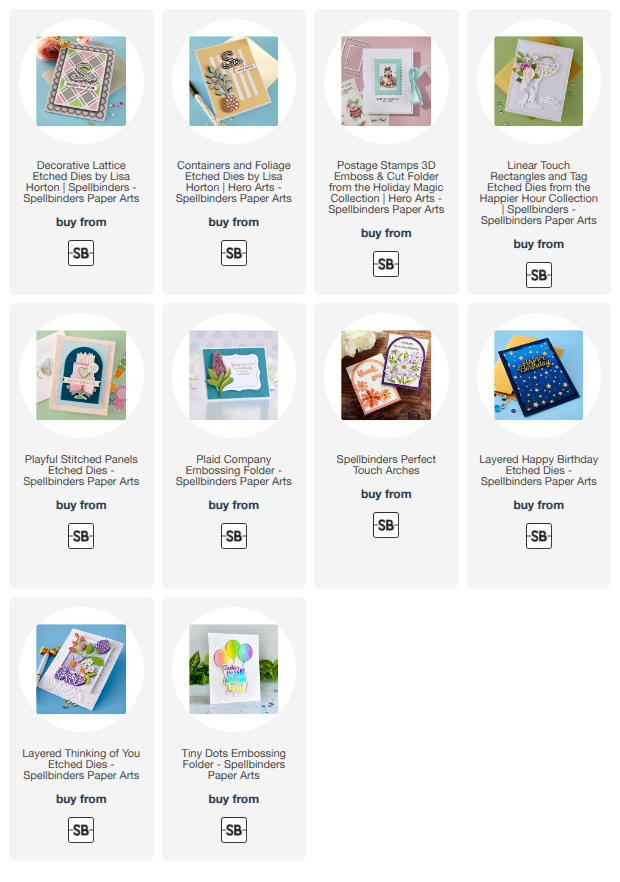
Products used in my cards:


 Compensated affiliate links used when available. If you place an order after clicking on one of my links, I will receive a small commission at no cost to you. Make sure to accept cookies. Thank you for your support!

Sunday, May 24, 2026

Buckets of Happy


Hope your having buckets of fun this weekend (and there's no housecleaning in sight!)  I am having fun creating with this adorable Spellbinders Shiny New Day Collection!

Here are a few other cards I created with the set:


Products Used:

Compensated affiliate links used when available. If you place an order after clicking on one of my links, I will receive a small commission at no cost to you. Make sure to accept cookies. Thank you for your support!


Time For a Masculine Card


Masculine cards can be challenging for me but This Calls For Confetti's Moments In Time dies and the new Diamond Trellis Embossing Folder work perfectly for a masculine birthday or Father's Day card!  
 

I created - what I think looks like - a desk or mantle clock by using the Arch dies to place the clock face into and made a circular 'shaker' element with the clock gears.  To finish, I added a simple sentiment from the Birthday Sentiments stamp set.


Products Used:
 

Friday, May 22, 2026

Storybook Wishes


Get ready for This Calls For Confetti’s NEWEST collection:   Let’s Celebrate.  It’s filled with some lovely dies, ephemera and an embossing folder to create something special for those memorable occasions like weddings, birthdays, showers, anniversaries – even proms!


For my card:

1) On dark gray cardstock, I cut several of the larger bricks in the Windowscapes Storybook Arch from a stone-colored cardstock and staggered them around the top and sides of the card to look like a brick wall.

2) Again, using the Windowscapes Story Book Arch, I cut the bricks from stone-colored (and 2 from dark gray) cardstock and adhered them to the arch.

3) I adhered one of the Under The Lanterns ephemera panels to the back of the arch die cut.

4) Using 3D foam strips, I adhered the arch to the card base.

5) To finish, I added the sentiment from the Birthday Sentiments stamp/die set


Products Used: