Showing posts with label Halloween. Show all posts

Monday, July 29, 2024

Shakin' Up Halloween


It's almost August which, for me at least, is the beginning of Fall card creating!!  This Calls For Confetti has some cool Halloween goodies (and MORE on the way...hint,  hint!)  

For my card, I used these fun items...

Boo Blend Polymer Confetti

Candy Corn Debossed Shaker Pouch and Die Starter Kit

 Boo! 6x6 Paper Pad

 Shell Pink - Rainbow Pearl Confetti Sequins

Opalescent Mother of Pearl Sequin Confetti  


Saturday, September 17, 2022

Frightfully Fun


The best part about Halloween – besides the candy – is creating fun Halloween cards!

For the background of my card, I first blended Wilted Violet, Picked Raspberry and Chipped Sapphire Distress Oxide Ink onto white cardstock.  I then stamped a few of the star images from the  Avery Elle Frightfully Fun Stamps and cut shiny silver cardstock using one of the Avery Elle Frightfully Fun Dies.  To finish the background, I dropped some Avery Elle White Ink Spray.  The ‘moon’ was simply cut from yellow cardstock.

I assembled the haunted house using Lawn Fawn Build-a-House Dies and Lawn Fawn Build-a-House Halloween Add-on Dies, first embossing the main part of the house with Tim Holtz 2-D Texture Fades Brickwork Embossing Folder.


To finish, I stamped the sentiment from the Avery Elle Frightfully Fun Stamps onto lime green cardstock and adhered over the bottom end of the moon and added the bat diecuts from the Lawn Fawn Build-a-House Halloween Add-on Dies.

Thursday, September 8, 2022

Too Cute To Spook


I prefer to 'fun, cute and treats' kind of Halloween and Pink & Main's newest release contains very cute goodies to use for Halloween projects!

For my first card, I layered Night Sky and Construction cardstock to the card base. Using one of the Stitched Rectangle Die Set #1, I cut Street Light Cardstock then heat embossed the design with Embossing/Watermark Ink Pad, Lilac Embossing Powder and Stained Glass Stencil. To create the circle backdrop, I cut Ice Rink cardstock with one of the Stitched Circle Dies, blended purple distress ink with an Ergonomic Blending Brush and spritzed with white spray. This adorable little spider and sentiment are from the new Halloween Brew stamp set with coordinating dies.


 My next card is interactive...


To create this 'Sliding Ghost' card, I took an 8.5" x 5.5" piece of Ice Rink cardstock scored at 2" on each end leaving a space in the center. I blended purple distress ink with an Ergonomic Blending Brush and spritzed with white spray. The Cute Ghosts stamps with coordinating dies are so sweet. I added one of the ghosts and sentiment to the card along with a few gems from the Starlight Gems collection.


To allow the ghost to slide along the opening, I placed a circle pop up dot on the back of the ghost, adhered a circle diecut to the pop up dot then added a small cardstock piece across the circle which keeps the card closed while sliding the ghost. For the inside, I layered cardstock in the center cut using one of the A2 Layered Rectangle dies and stamped a sentiment from the stamp set then layered a pattern from the Year Round Dots & Stripes pattern paper for the side panels. And, of course, I placed more images of the ghosts to the inside.


Thursday, September 2, 2021

Got Treats


Ready for some super sweet treats? Look no further than Pink & Main's recent release!! Fun Halloween and Fall stamps/dies, pretty glitter, adhesives and so much more!


For my card, I cut black cardstock with one of the Stitched Slimline dies and taking the new Zig Zag Circle dies, cut into the black cardstock at the top and bottom and placed purple glitter cardstock from the Fall Glitter Paper Pack. I then cut orange cardstock with one of the Zig Zag Circles dies. These cute bat images, sentiment and stars are from the new Batty For You stamp set with coordinating dies. 


Sunday, September 27, 2020

Haunted Halloween

I'm not big on scary things, but this card is just 'too cute to spook'!  Kat Scrappiness has so many wonderful Halloween-themed goodies!

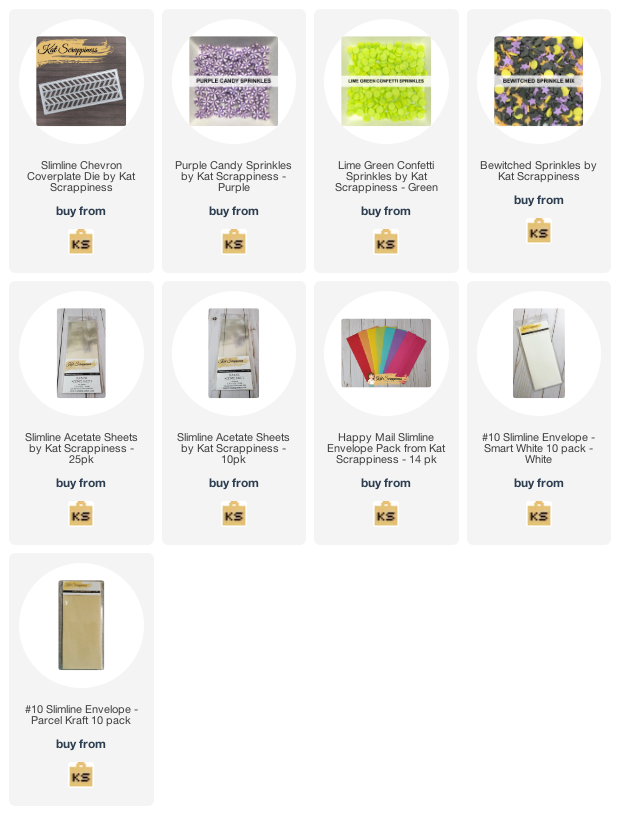
For my slimline card, I layered a fun, Halloween colored pattern paper to the card base.  To create the shaker, I cut lime green cardstock using the new Chevron Slimline Die, adhered slimline acetate to the back, filled with new Bewitched Sprinkles plus Purple Candy and Lime Green Confetti Sprinkles and enclosed the back with orange cardstock and then adhered all of it to the card base.

The adorable haunted house, cute ghosts and 'boo' are all from Lawn Fawn.

Sunday, September 13, 2020

Trick or Treat Sweets


We love having trick or treaters come to get candy on Halloween!  It's so fun to see their costumes -- some are so creative!  Hoping this year we'll still have Trick or Treat, but in the meantime, I created a slimline card will little bags filled with treats!
 
Stop by the Kat Scrappiness blog for lots of inspiration and a chance to WIN the new dies being released today!

For my card, I first layered a fun Halloween pattern paper.  I then used two of the new Neverending Slimline Dies to create a frame.  To make each of the treat bags, I took one each of the Slimline Zig Zag Dies and Neverending Slimline Dies, taped them together and ran both of them at the ends through the Big Shot using different cardstock colors.
After trimming them to equal sizes, I placed acetate behind the front, zig zag cutout, filled them with several new Halloween-themed sprinkles (see thumbnails at the end of the post) and covered the back with other Halloween pattern  paper.
For the trim, I cut glittery silver cardstock with one of the Slimline Neverending dies and cut a strip to fit the top of the bags.  I added baker's twine to the the top of the treat bags and adhered them to the card.  To finish, I added the white embossed sentiments.