Showing posts with label Graduation. Show all posts

Sunday, May 5, 2024

Go Grads!


Congratulations to all the Grads - You did it!  Graduating is a huge milestone to accomplish and worth celebrating!!


 My card features these wonderful goodies that I got at ScrapbookPal:

 Spellbinders Gnome Drive Holiday dies

 Spellbinders Gnome Drive Graduation dies

 Spellbinders Plaid Company Embossing Folder

  Tim Holtz/Sizzix 3D Texture Fades Embossing Folder - Brickworks

Spellbinders Gnome Drive Sentiments stamp set 


Friday, June 28, 2019

Hey, Grad


 Graduations are such exciting milestones!  My daughter graduated from college this year.  It's almost surreal to us that she's an adult and is beginning to find her life's path -- I still see her as my sweet baby girl in a cuddly pj/sleeper!


For my card, I cut white cardstock with the Quilted Background die and adhered to the cardbase.  Using the new Globe & Stand dies, I cut light blue and light green cardstock for the globe and shiny gold cardstock for the stand.  I added elements from the Grad dies and then stamped a sentiment from the Adventure Awaits set onto light blue cardstock cut with one of the Circles Dies and layered it on light green cardstock cut with one of the Scalloped Circles dies.


Friday, May 24, 2019

Congrats Grad


 Our family celebrated two graduations this month!  My niece graduated high school and my daughter graduation from college!  We're so very proud of these wonderful women!

Divinity Designs new release came at the perfect time to create this special gift for the graduates in your life!


The Explosion Box Dies makes it so easy to create a fun, interactive gift/card giving the recipient a real 'wow'!  The coordinating Explosion Box Pockets and Layers Dies allows you to quickly add little pockets for notes, money, pictures, etc. and cut pattern paper to the panels in a snap.  I also love the Mini Box die which can be used alone or added to the center of the Explosion Box to put little treats in!

I also used the new Grad dies, Dream Big stamp set and Large Numbers dies.


Congratulations to all the grads out there!! 

Wednesday, May 1, 2019

Divinity Designs April Release!


 Divinity Designs May Release is here!!  Wait til you see what awesome products are in store!

My first project features the new Couture Collection Dies and Menswear Material Collection Paper Pad!  This fabulous shirt-shaped die comes with the vest, tie, buttons...everything you need to create a unique masculine card - perfect for Father's Day, too!


 With graduations coming up, the next featured products are a 'must have'...


 For this card, I used the Half Shutter Card with Layers Dies for the base and layered the panels with patterns from Old Glory and Chalkboard paper pads.  The numbers were cut from shiny gold cardstock using the Large Numbers Dies.  The grad caps, sentiment and 'congratulations' word are part of the new Grad Dies.

For the sentiment tags, I used the new Dream Big stamp set to stamp on one of the Treat Tags Dies.


You'll want to stop by the Divinity Designs blog to view the entire release complete with video and special bundle offers!


Friday, February 1, 2019

Reverse Confetti February Stock Your Stash Challenge

Happy February!  2019 is in full swing and hope you are well on your way to making this an awesome year!  This month's Reverse Confetti Stock Your Stash challenge theme is all about creating a card to uplift, encourage or give a pat on the back...


Check out all the details on the Reverse Confetti blog and click on  The Play To Win button.  There will be a winner each month and that person will receive a $20 gift certificate to the Reverse Confetti store and claim the title of ‘Fetti Fave. The winner of the monthly challenge will be posted on the Reverse Confetti blog at the end of the month.


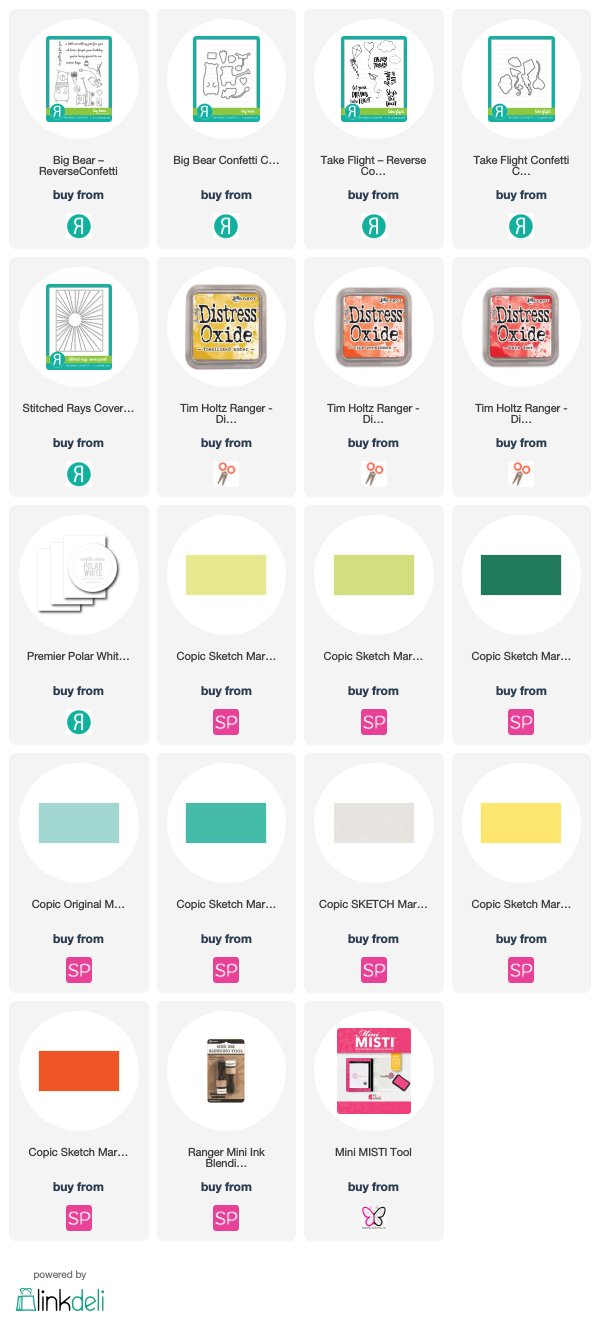
For my card, I began by cutting Premier Polar White cardstock with the Stitched Rays Cover Panel and blending in a few distress oxide inks then adhering to the card base. 


I'm in love with the new Big Bear stamp set and this sweet bear which I copic colored. The Big Bear die makes cuts around the bear's 'paws' which makes it so easy to have him hold things...like the kite string on my card! The Kite, Clouds and Sentiment are from the Take Flight stamp set and coordinating dies.


Sunday, April 8, 2018

Reverse Confetti Blog Hop: Moms, Dads & Grads


Welcome to Reverse Confetti's April Blog Hop featuring projects for Moms, Dads and Grads!  You've probably come here from enjoying the amazing work of Amy Tsuruta! You'll want to see what all the Design Team has to share with you today so if you lose your way along the hop, stop back at the Reverse Confetti blog or click on links below.

In the next several months, there are so many wonderful things to celebrate including Mother's Day, Father's Day and Graduations and I'm so excited to share a few projects with you to commemorate these celebrations!


For my first project,  I created a little gift ensemble for the golfer in your life.  The 'dad jacket' was created by taking Dark Roast Cardstock and cutting the bottom using the Rounded Stripe Panel as a guide and placed a piece of pattern paper from the Free Spirit pad (facing forward) behind the top part, cutting a slit at the top and folding down the ends.  Taking a Clear Treat Box, I placed a piece of pattern paper from the Free Spirit pad and adhered it to the bottom of the box, a piece of Cloud White cardstock to the top and wrapped the box with the Dark Roast Cardstock piece.  I cut a piece of Cloud White cardstock for the 'shirt collar', adding the darling tie from Tie-rific Confetti Cuts cut from a pattern paper in the Forever My Love pad and added a wooden button.  The word die is from the Tie-rific Confetti Cuts.  The box was then filled with golf tees.


To coordinate with the golf tee box, I filled a Treat Tube with golf balls and used the Treat Tube Topper die to cut Sand Cardstock and placed on top of the tube.   For the tag, I started by cutting a piece of pattern paper from the Forever My Love pad using the Dashed Line Tag die.  The sentiment from Tie-Rific was stamped on one of the dies in the Tall Tag Trio collection.  The sweet Koala images used here are from the Bear Hugs stamp set and coordinating dies.  To tie it all together, a little gift card - the pocket was cut from
a piece of pattern paper from the Forever My Love pad using a die from the Tie-rific Confetti Cuts and the stamped sentiment is also from the Tie-rific stamp set.

 Next up:  Congratulations, Graduate!


The darling bear from the Honey Bear stamps set/coordinating dies is also 'graduating' and is the feature of the little 'money box'.  I started with a Mini Clear Box and wrapped a strip of pattern paper from the Pattern Play pad.  For the hat, I simply cut a square piece of Midnight Cardstock and fastened a tassel.  The sentiment is from the new My Sunshine stamp set/coordinating dies.


For the coordinating shaker card, I placed a piece of the same Pattern Play paper design on a Cloud White card base.  Cutting Midnight Cardstock using the Congrats Square Panel, I placed acetate to the back and then foam strips around the panel.  I sprinkled crystal looking sequins to the base before adhering the Congrats Square Panel to the base.  Then I added the butterflies from the Butterfly Dreams stamp set/coordinating dies.  (The stemmed glass die cuts you see are from the Clink Confetti Cuts).

 And last, but certainly not least, a gift collection for Mother's Day!


A couple years ago, my sweet, loving daughter gave me a jar filled with '52 reasons Why You're The Best Mama'!  Some of those notes made me laugh (i.e., #7 - You Taught Me To Be Very Crafty) and some made me cry (i.e., #1 - You're My Best Friend).  It was the most perfect Mother's Day gift I ever received!

So, I used the jar filled with those amazing notes and added this tag.  The tag itself was cut from Rose Cardstock and a pattern design from the Fun Times paper pad using the Gift Card Holder die.  Those lovely flower/leaf images are from the new Tall Blooms set/coordinating dies and the 'mom' word die from Flowers For Mom Confetti Cuts.


For the coordinating card, I cut Cloud White cardstock using the Linked Circles Cover Panel die and placed on a card base.  Taking Sand cardstock, I cut two 'wreaths' using the Swirlies Confetti Cuts and layered them.  I fussy cut several floral images from the Tall Blooms set and arranged them around the wreath.  The banner and word die are both from the Flowers For Mom Confetti Cuts.

Thanks so much for stopping by and I hope you liked the projects I shared today.  Let me know if you have a favorite -- I would love to know!

Ready for some incredible inspiration?  Hop on to see what our immensely talented Audrey Tokach has created for you!!


Saturday, May 20, 2017

Let Your Dreams Take Flight


 At this time of year, with many young people graduating from high school and college, it makes me think of the hope of dreams.  My daughter graduated high school a couple years ago and she was filled with dreams of college and what she was going to do in her life.  Thankfully, she has so many more options than I ever did 'back in the day' and so it's really heartwarming for me to see her dreams taking flight!


For my card, I started with Reverse Confetti Vertical Stripes Cover Panel Confetti Cuts (which I used horizontally) and in laid shades of blue. Then, I paper pieced the kites and added the clouds and sentiment from Take Flight.

I'm excited to enter my card in these challenges: